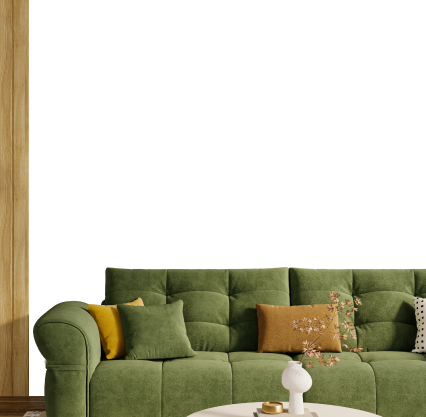
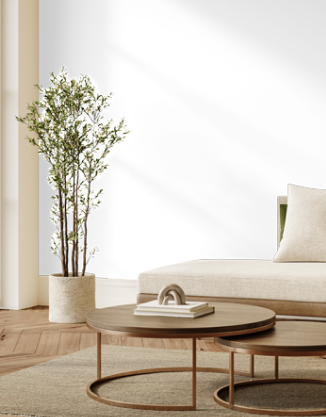
Interior Staining
1. Inspect the interior wood surfaces
Check stairs, railings, doors, trim, cabinets, panels, beams, floors, or other wood surfaces for scratches, dents, stains, old finish, moisture, or damage.
2. Protect the surrounding area
Cover floors, walls, furniture, fixtures, outlets, and nearby surfaces with drop cloths, plastic, and painter’s tape.
3. Clean the wood
Remove dust, grease, fingerprints, wax, and dirt so the stain can absorb evenly into the wood.
4. Remove old finish if needed
Strip or sand away old varnish, paint, or uneven stain when necessary to prepare the surface for a fresh finish.
5. Sand the surface
Sand the wood smoothly and evenly, following the direction of the grain. This helps the stain absorb properly.
6. Remove sanding dust
Wipe the surface with a clean cloth or tack cloth to remove all dust before staining.
7. Repair imperfections
Fill small holes, cracks, dents, or gaps with the appropriate wood filler, then sand again once dry.
8. Test the stain
Apply a small sample in a hidden area to confirm the colour, absorption, and final appearance.
9. Apply wood conditioner if needed
Use a wood conditioner on soft or porous woods to help prevent blotchy or uneven staining.
10. Apply the first coat of stain
Use a brush, cloth, sponge, or applicator pad to apply the stain evenly, following the direction of the wood grain.
11. Wipe off excess stain
Remove extra stain with a clean cloth to prevent sticky spots and help create an even finish.
12. Allow proper drying time
Let the stain dry completely according to the product instructions before adding another coat or protective finish.
13. Apply a second coat if desired
Apply another coat if a deeper colour or richer tone is needed.
14. Apply protective finish
Seal the stained wood with varnish, polyurethane, lacquer, or another clear protective coating for durability and long-lasting beauty.
15. Inspect and touch up
Check the surface for uneven colour, missed spots, drips, dust marks, or rough areas, and complete all necessary touch-ups.
16. Clean up and final walkthrough
Remove protective coverings, clean the work area, and complete a final walkthrough to ensure a smooth, elegant, and professional interior stain finish.
Turn Ordinary Walls into Extraordinary Spaces


Request a Quote
Request a Quote